
This article is part of a series I am writing about our fixer-upper: an 18th Century pub in the middle of the Sussex countryside. In each article I will explore another aspect of its restoration. The first in the series is: Restoration Of An 18th Century Pub. This time, I’m looking at the floors.
Uneven floors in an old property
As part of the initial survey before we purchased the property, we inspected the floor construction upstairs: timber joisted with floorboards fitted above. It turned out that the floor was particularly springy and there was a slope to the floor in three of the rooms. This was because of settlement within the property.
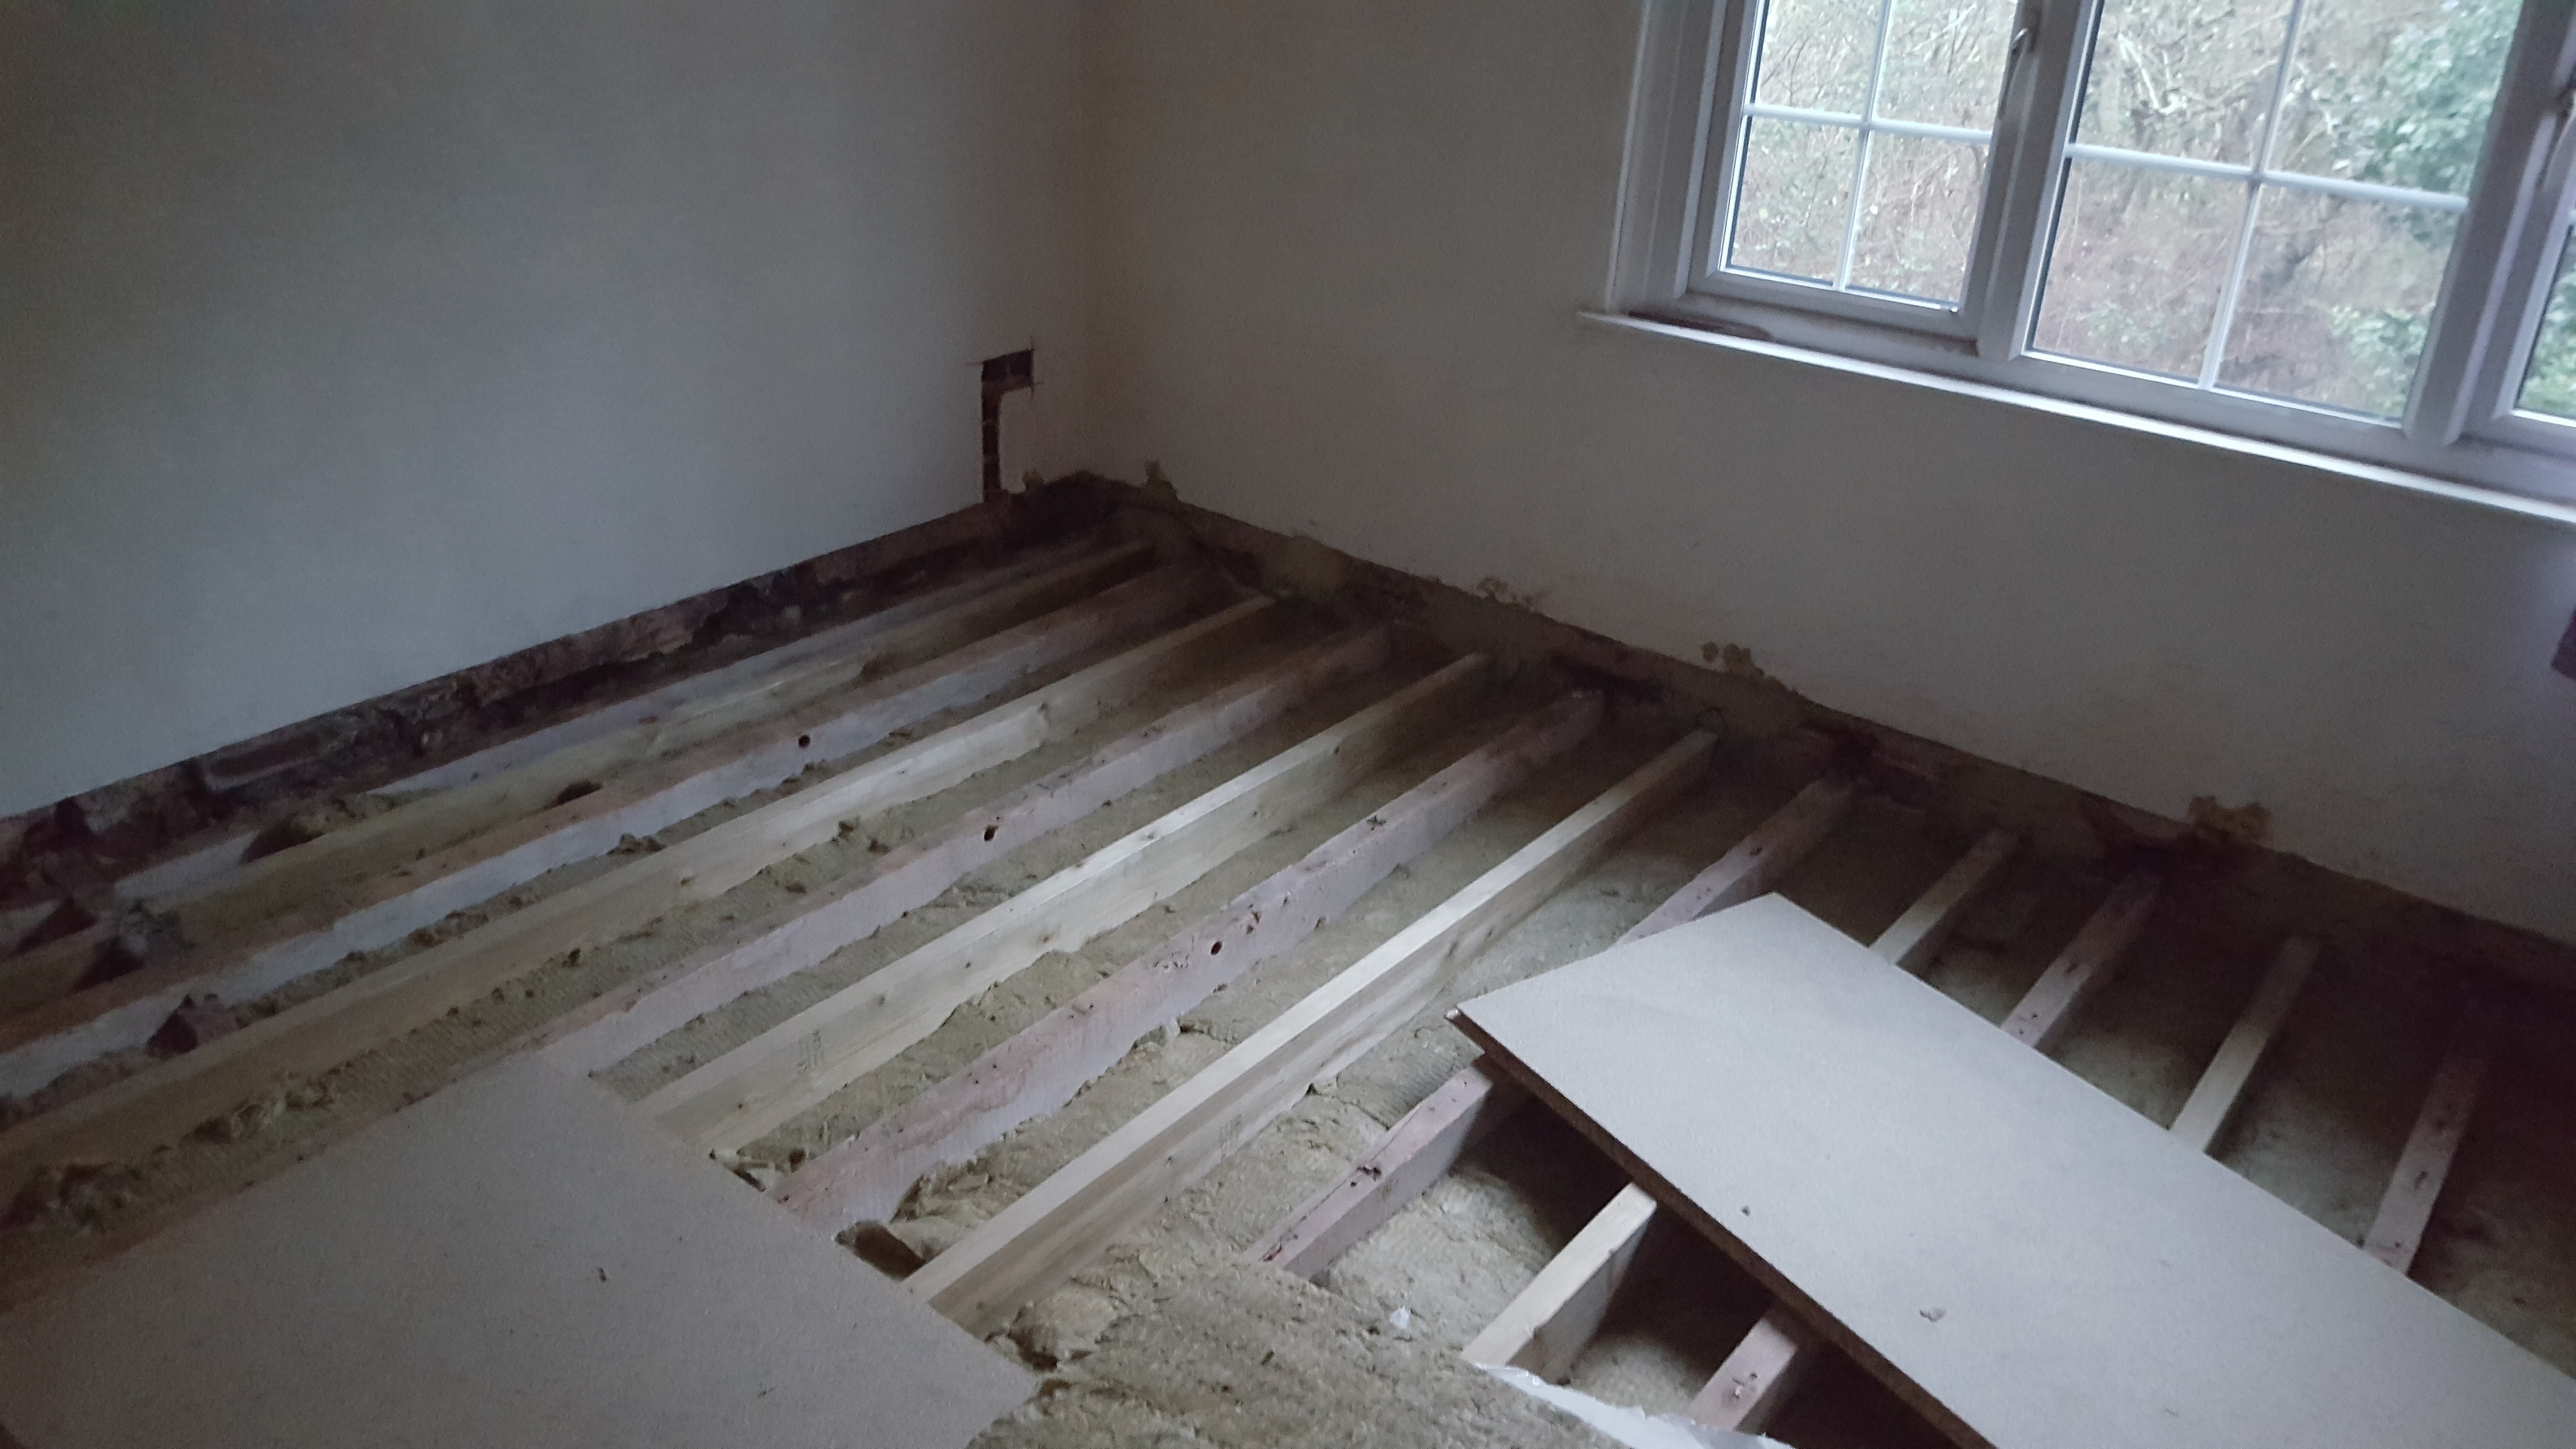
Once we had purchased the property, we were able to carry out a more thorough inspection. On lifting the floorboards we could see that the joists were considerably undersized for the length of span (particularly against the guidance provided by TRADA (the Timber Research And Development Association) and some of the joist ends, which were built into the wall were particularly rotten.
We had to look at options to reduce the amount of movement within the floor, which could also help to level the floors out as much as possible. In two of the rooms, we noticed that the floor joists had been painted white at some point. This was probably when the property was still in use as a pub and the joists were on show in the room below.
Fixing a sloping floor and strengthening the floor joists
The main options we considered were:
- Remove the whole floor and renew
- Fit additional joists along the sides of the existing ones
The first option would provide an opportunity to increase the joist depth to meet recommendations and would mean the floor could be completely levelled. However, not only would this cause a lot of disruption to the property but removing the existing floor and fitting an entire new one would be very expensive, and would need to include re-plastering the ceiling below too.
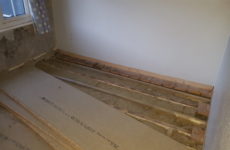
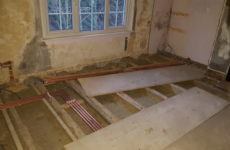

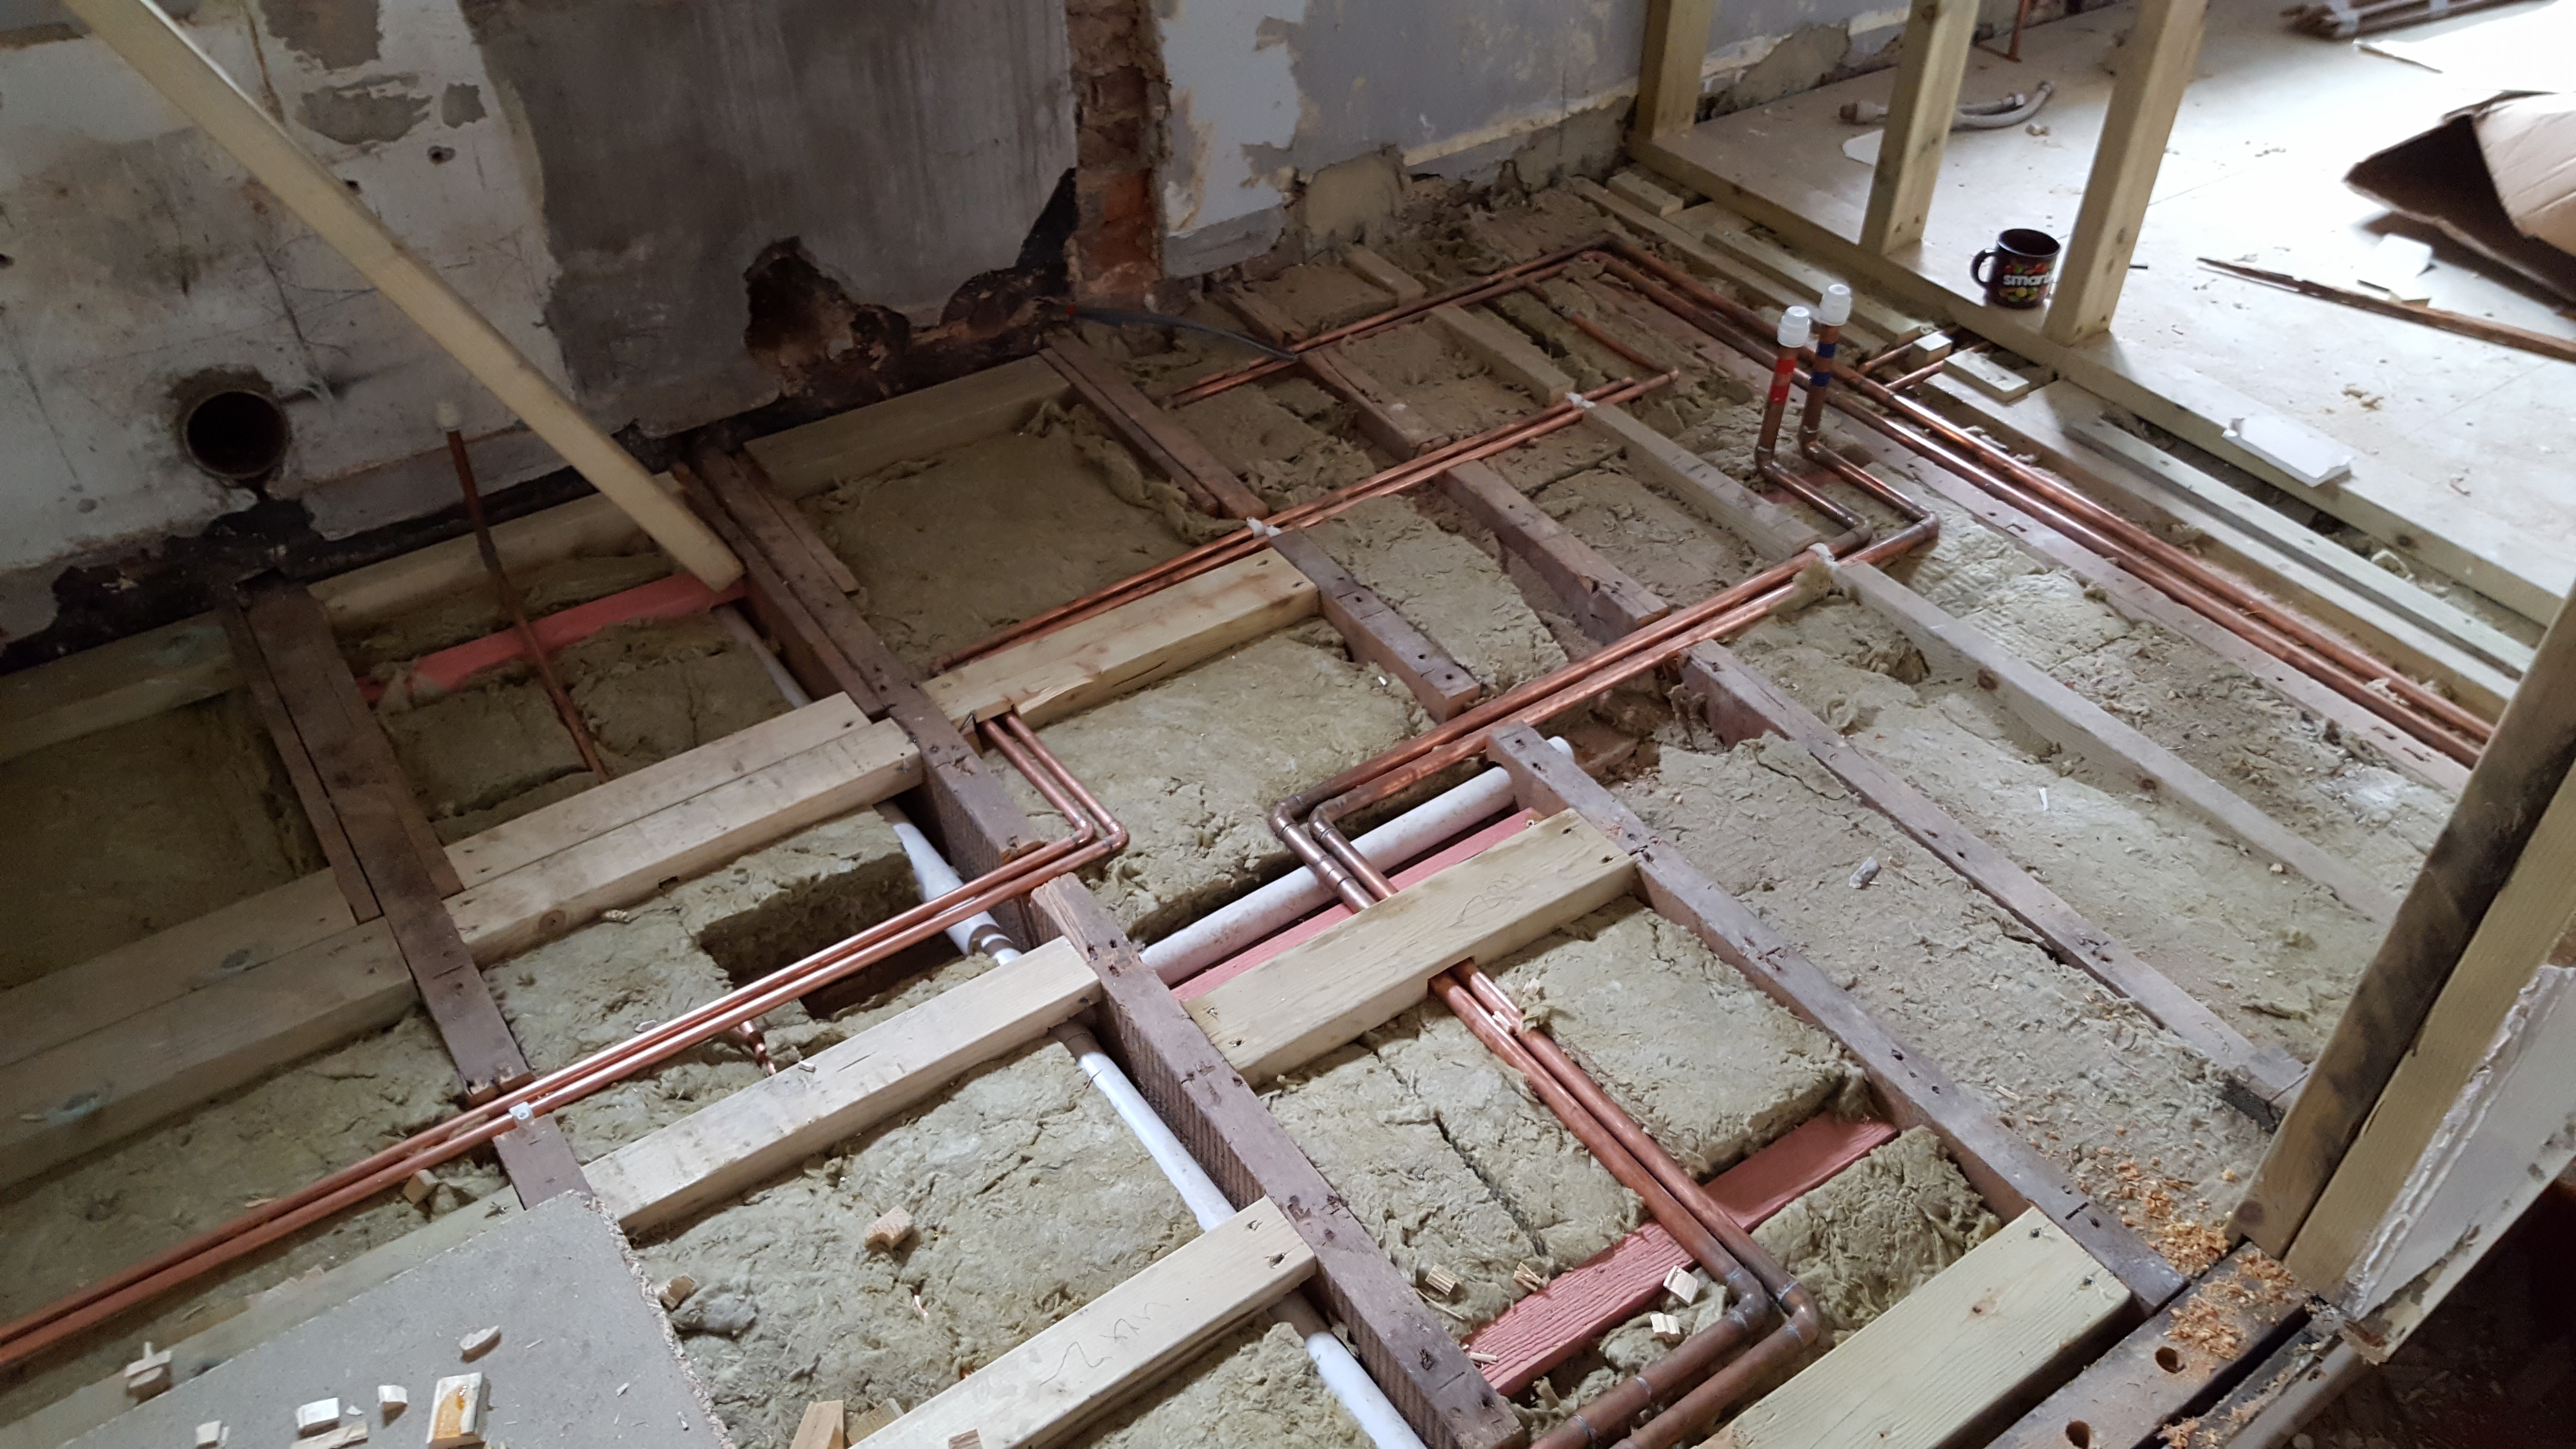
We therefore decided to go with the second option and fitted additional joists, using a higher structural grade of timber, along the sides of the current ones by fixing them on joist hangers.
This improved matters but as the timber was still undersized, we fitted noggins between the existing joists. The noggins help to stop the joists from twisting – which would cause them to lose some of the inherent strength they have in the normal joist position. They also help to tie the whole structure together.
Chance to reuse old floorboards?
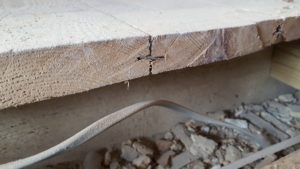
Groove on Groove Floorboards with Metal Strip Between
We couldn’t reuse the existing floorboards because they were a groove on groove floorboard with metal strips fitted between each board.
This is an unusual form of construction which nobody expected and it was the first time I had seen it.
Indeed, part of the pleasure of working with older buildings is that we get to see different forms of construction and how the properties have evolved over the years.
It was a shame the floorboards weren’t salvageable and we did consider replacing them with a similar type of floorboard but as we plan to carpet the first floor to reduce sound transmission we couldn’t really justify the expense. We therefore decided to fit tongue and groove chipboard which was fixed with glue and counter sunk screws at close centres; it also helped to brace the floor.
Why ply for the bathroom floor?
The only room upstairs that is different is the bathroom, which has been fitted with WBP ply. We chose the ply as it has less movement in comparison to chipboard and provides a better substrate for fitting tiles to the floor.
Next steps
All the upstairs floors have now been completed and are ready for second fix carpentry (skirting boards) before the carpets go down. The work to the floor has significantly reduced movement and the levels and was well worth the effort.
What next?
- Read part one in the series: Restoration Of An 18th Century Pub
- See our case study: Building Survey of a Timber Framed House
- Find out how we can help with Refurbishment, Restoration Advice & Planning
Comments are closed.